

A hallway makeover is one of the most visible projects a school can take on. Every student, parent and visitor walks those halls, so a few well-placed wall graphics can change how the whole building feels. The hard part is usually not choosing a design. It is getting from “our walls look tired” to a finished project that fits the space, the budget and the school calendar.
This guide walks principals, PTAs and teachers through that process one step at a time. If you are still collecting ideas, start with our school hallway decal ideas page, which shows designs for every area of the building.
Step 1: Decide what you want the hallway to say
Before looking at designs, agree on the message. Most school hallway projects fall into one of these goals:
- School pride: your school name, mascot and colors, so the building feels like home.
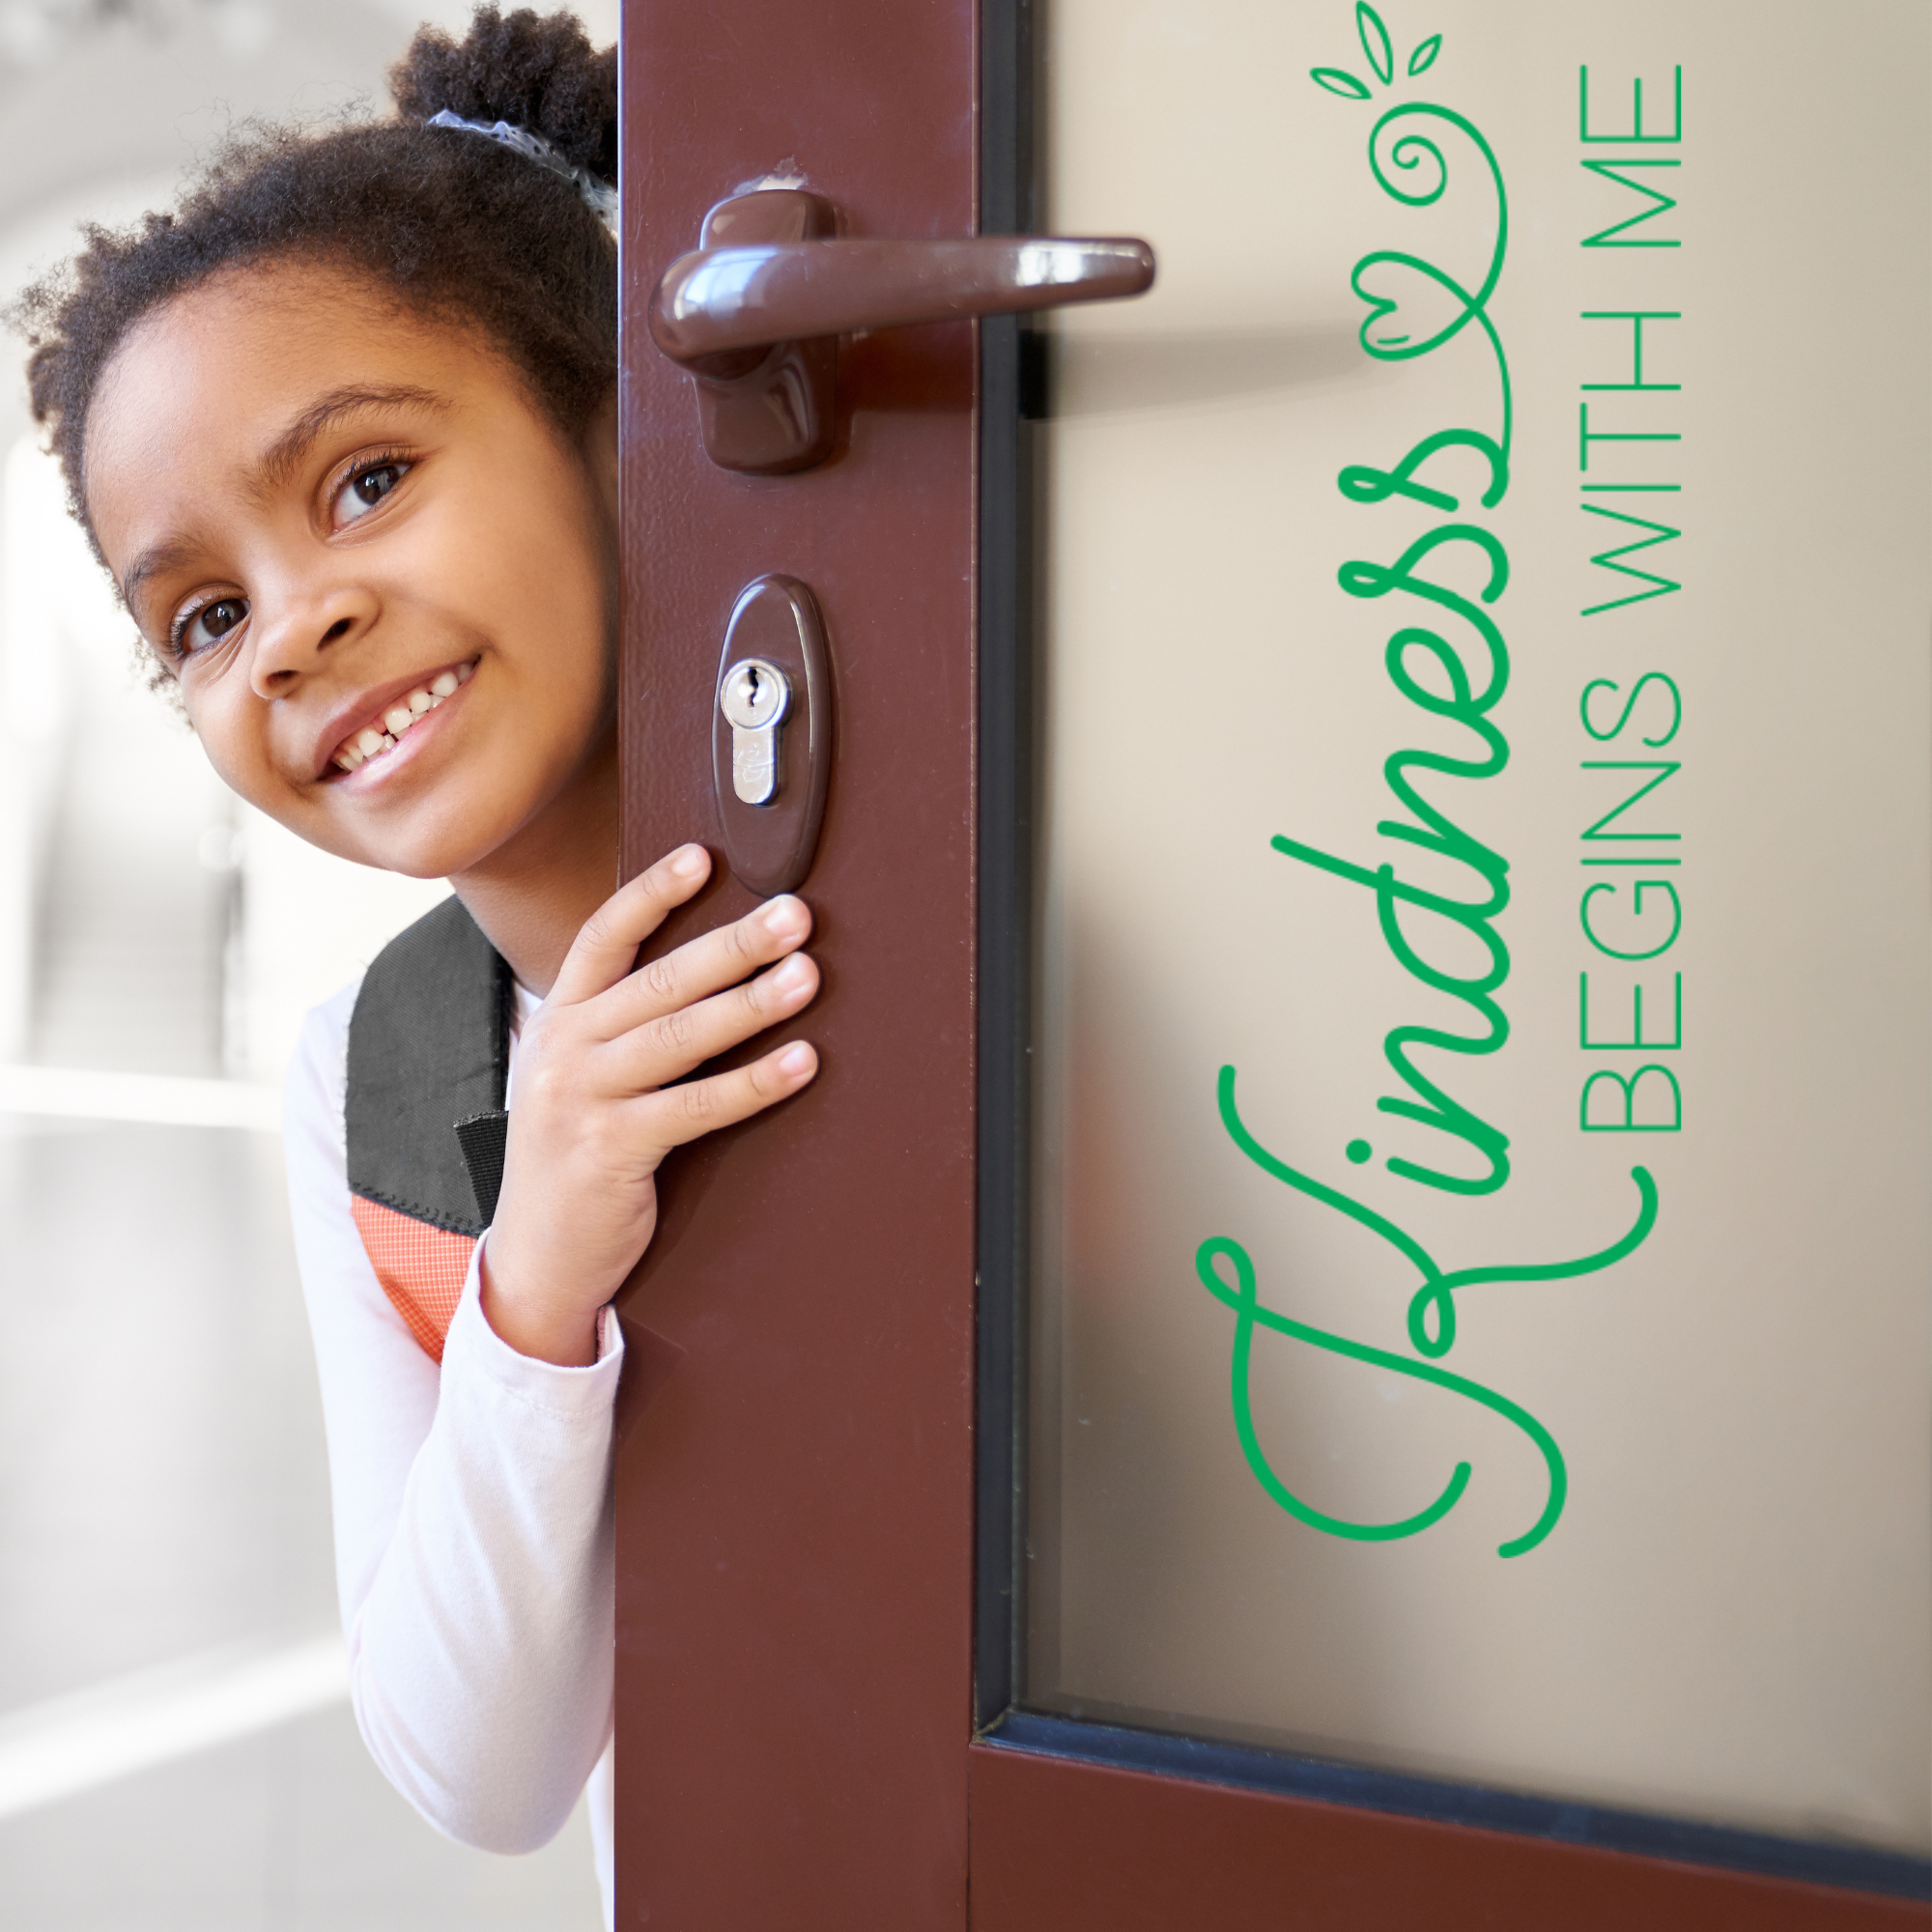
- Character and culture: kindness, respect and anti-bullying messages that support what you teach.
- Learning: reading, STEM and subject quotes near the classrooms and library that use them.
- Welcome: greetings for families and visitors, including multilingual welcome signs.
Picking one main goal per hallway keeps the building from feeling cluttered. A kindness hallway, a reading hallway near the library and a school-pride entrance each feel intentional.
Step 2: Walk the building and measure
Take a walk with a tape measure and your phone. For each wall you are considering, write down:
- The width and height of the open space
- Anything that limits it, like lockers, display cases, fire alarms, outlets or door frames
- The wall surface, since smooth painted block and drywall are the most common
- A photo of the wall from a few steps back
Those photos are useful later. When you request a custom design, we can use your photo to show how the decal will look in your actual space before you order.
Step 3: Choose colors that match your school
Every decal is cut from vinyl in the colors you choose, so you can match your school colors or mascot. If the design has more than one element, like words plus a graphic, you can often pick a different color for each part.
Not sure how a color will look on your walls? Order a color swatch sample decal first and hold it up in the hallway. School lighting can change how colors look.
Step 4: Pick ready-made designs or go custom
Many schools mix both. Ready-made designs are quick to order and come in standard sizes listed in inches on each product page. Popular choices include:
- We Do Awesome The [School Name] Way, personalized with your school name
- Be a Buddy, Not a Bully for a kindness hallway
- Teachers Plant Seeds tree for a staff hallway or teachers’ lounge
- Welcome To Our Library above the library entrance
For a mascot, logo, mission statement or a size that is not listed, a custom design is the way to go. Send us your artwork or wording and wall measurements, and we will send a design sketch and price quote before you order. You can also order standard-size logos through our custom school mascot and logo graphics.
Step 5: Plan the budget and paperwork
School purchases often need approvals, so start this step early. A few tips:
- Prioritize high-traffic spots. If the budget is limited, start with the main entrance and the busiest hallway, then add more each year.
- Get a written quote. Most districts need one to create a purchase order. We can provide a quote for any order.
- Get set up as a vendor. If your district requires vendor forms, send them over and we will complete them. See our school purchase order information for details.
- Consider PTA funding. Hallway graphics make a visible PTA project or class gift that families see every day.
Step 6: Time the order around the school calendar
The easiest time to install is when the halls are empty. Summer break, winter break and long weekends are popular choices. Work backward from your install date and leave time for approvals, design sketches, any revisions and shipping. Custom designs take the longest, so request those first.
Step 7: Install and reveal
Our decals are die-cut, so only the letters and graphics stay on the wall, with no clear background around them. Each decal arrives with a top layer of transfer tape that keeps everything spaced correctly. Once it is applied and that tape is peeled away, the design looks painted on.
A few practical tips:
- Install on clean, dry, fully cured paint.
- Use painter’s tape and a level to mark placement before you start.
- Two people make large pieces much easier to handle.
Then plan a reveal. Students and staff noticing the new walls on the first day back is half the fun.
Ready to start?
Browse our school hallway decal ideas for designs by area of the building, or shop the full school hallway collection. Have a custom project in mind? Email us at support@thesimplestencil.com with your wall measurements and ideas, and we will help you plan it.






Leave a Reply